
Hi Everyone,
One of the new trends (well, not that new anymore) is a migration towards the cloud platform. Although there are many different aspects, currently I will focus on the integration of cloud-based repository within your on-premise environment. Specifically using your Sharepoint Online infrastructure to simulate an on-premise traditional file server (Network Drive with a Drive letter).
There are many ways of accomplishing this. You can use OneDrive, Dropbox or similar synchronization tools, but I will focus on WebDAV connectivity. This is what I find to be the simplest if you know what to expect.
What is WebDAV? If I had to summarize it in one sentence, it's a protocol that allows you to access locations on the web as if they were locally on your computer. which is essentially what we will do here.
What is WebDAV? If I had to summarize it in one sentence, it's a protocol that allows you to access locations on the web as if they were locally on your computer. which is essentially what we will do here.
Why are we going through all this? The point is to have an automated connection to the drive without having to constantly configure a connection every time. Otherwise…. What’s the point?
Again... my way is NOT the only way. It was just what fit the situations that I encountered and yours might be different. The issues I list might not be what you’ve encountered and vice-versa. But at the end of the day, this worked for me.
Pre-requisites.
- Sharepoint Online site created (created by default depending on your 0365 licensing)
- Workstation (in our case Windows 10)
- Active Directory & GPO infrastructure
- For servers the feature “WebDAV Publishing”
- Basic knowledge of Sharepoint, Active Directory & Group Policy Management
- Patience reading all this text!!!
How to go about it:
- Simulate everything manually
- Create GPO to reflect the manually created configuration
- When it’s all said and done, I will mention the advantages and disadvantages of this method and why I chose it over the others. So let’s get started!
First thing’s first!
No matter what browser you have from whatever brand…. Everything here depends on INTERNET EXPLORER!! Not Edge, not Firefox, not Chrome etc.
Get everything from Sharepoint:
- Log into your Sharepoint online site using IE (For example https://contoso.sharepoint.com/)
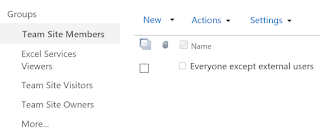
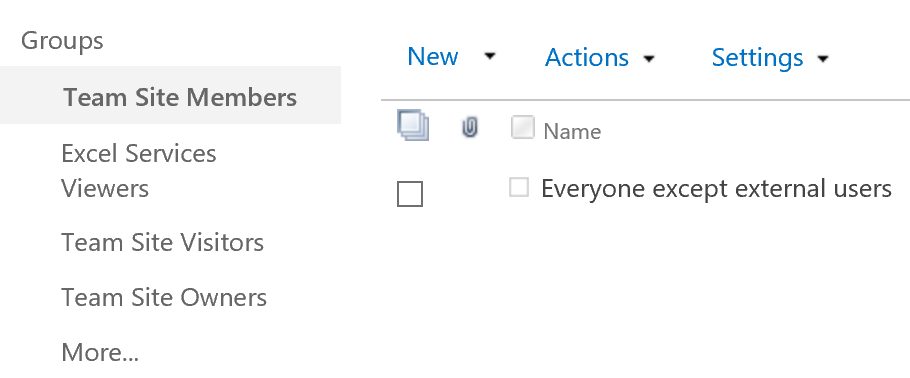
- Once you navigate to Settings à Site Settings à People and groups at the member's group you will see access are granted to “Everyone Except External Users”. This means everyone already has access and you can test at this level. Obviously, for sub-sites, you need to add the appropriate permissions.
- Now we need to find out the URL of the documents folder that we wish to map locally for the users. On the left side pane, you will see the documents folder. Click on it
- Open this folder in Windows Explorer by clicking on the “All Documents” drop-down menu followed by “View in File Explorer”. Again, this option ONLY WORKS in IE.

- Once selected, Windows Explorer will open this located locally. Traditionally the URL is https://contoso.sharepoint.com/shared%20Documents/ and you can see it here:


NOTE: This portion needs the WebDAV Publishing to enabled/installed on the servers for it to work!
Now the fun begins!
Since we have the Sharepoint URL and the permission to access it, we now need to do the following:- Configure IE to trust Microsoft URLs
- Map the drive
- Ensure the mapping is capable of reconnecting
- As independent as possible from having to sign in manually.
Configure IE to trust Microsoft URLs
- Open IE and navigate to “Internet Options”
- Go to the Security tab, select “Trusted Sites” and click on “sites”
- Enter the following URLs into the list:
- https://contoso.sharepoint.com
- https://login.microsoftonline.com
- Webshell.suite.office.com
- Click OK/Close all across until you’re back at the security/Intranet tab
- Click on “Custom Level” and ensure the following is selected:
- Display Mixed Mode à Enable

- User Authentication à Logon à Automatic logon with Current username and password

- Click OK all across
- Navigate to Internet Options à Privacy
- On the Settings section click on “Sites”
- Add the following into the “Address of Website” text box: “Sharepoint.com” and click on “Allow” (This will automatically create login cookies)

- Now we need to log into Sharepoint online and finalize the configuration prior to mapping
- Open Internet Explorer (again… not edge, chrome, firefox etc.) and go to https://contoso.sharepoint.com.
- Log in using your email format (office 365 works with email formats after all)
- Please note that after you enter your password, you will be asked if you’d like to remain logged in and to keep reminding you. Select the checkbox to not remind you again and click on “Yes” to remain logged in.


-
Map Sharepoint Documents Folder as a Network Drive.
- This portion is pretty straightforward. Open Windows Explorer
- On the left pane, click on This PC
- On the top pane, menu bar click on “Computer”
- Click on Map Network Drive
- Select a drive letter and in the folder text box put the entire URL (https://contoso.sharepoint.com/shared%20Documents/)
- Ensure “reconnect at sign in” is checked on
Simple. Isn’t it?
Testing and Troubleshooting Errors:
Once the drive has been mapped and is accessible, you’re happy because you have access. Now essentially we’re testing the User-Experience.
Meaning what?
- Do they have to constantly relog into Sharepoint?
- Do they get errors messages all the time?
- How much “pre-configuration” the end user needs to do instead of just “double-clicking”?
First step… Log off the session and log back in. Does the user still have its drives? Are they automatically connected?
If they don’t, it’s most likely because the cookies aren’t there and it didn’t maintain it’s “login session”.
What to do?
- Log in to https://contoso.sharepoint.com and see if it automatically logs in or prompts for a login.
- It doesn’t log in? Check to see that you allowed *.sharepoint.com to always create cookies.
- Log in again and ensure it doesn’t remind you again and to always connect.
- Once in, go to the Documents section and view files with Explorer. Does it work? Does it give you an error asking to authorize the action?
- If yes, ensure that “Display Mixed Mode” is enabled.
If all goes well, when you double click on the mapped drive, it should go in.
It doesn’t? does the error say that the website is not trusted or the credentials are incorrect?
What to do?
- Ensure the URLs mentioned earlier are in the Trusted Sites.
- If this is all you encountered and you got it working after fixing the issue, Log out and try again.
- Did it work? Then try the next step…. Reboot the workstation and see if it still works properly.
- It works? Awesome! You’ve just provided a platform that could potentially replace and decommission your traditional file server.
Create a GPO.
Now that you worked out all the kinks and it seems stable enough for you to deploy across the company, create a GPO and be on your merry way!
since everything is mainly user-focused, obviously the portion of the GPO that we're modifying is the User-Configuration.
The configuration here is similar to what was done manually. so I won't bore you with the "how". More like the "where".
- Open up your GPO and navigate to User-configuration, Preferences, Control Panel Settings then click on Internet Settings.

- In the center pane, right-click and select new, then click "Internet Explorer 10".
(Don't worry, this applies the rules for IE11 as well) - Configure the Custom-Level portion which includes: Mixed mode and User authentication.
- Navigate to User-Configuration, Policies, Administrative Templates, Windows Components, Internet Explorer, Internet Control Panel, Security Page.
- Locate the Site to Zone Assignment rule and double-click it. Add the 3 URLs we mentioned earlier and assign them to zone 2 which represents the Trusted Sites zone.


- Navigate to User Configuration - Preferences - Windows Settings - Registry
- Right-click on the registry and run the wizard (Choose Local computer)
- Double click your way through the following path:
- HKCU - Software - Microsoft - Windows - CurrentVersion - Internet Settings - P3P - History
- Since you already created it manually, you should be able to see "Sharepoint.com" if not, you can create that entry.
- Create a Keyword:
- REG_Word
- Value 00000001
- Make sure the Default checkbox is selected
Now all you have to do is map the drives. This is really straightforward. All I can say is that you should use the "Replace" option and not "update", "Create" etc.
The option to configure the mapped drives are at the following location:
- User Configurations - Preferences - Windows Settings - Mapped Drives
So there you go! all the manual configurations were converted to a GPO. CONGRATULATIONS!!!
Now that we're done it, let's talk about if it's a better way to go. pros/cons etc.
Advantages / Disadvantages
Let's get right down to it. why would you pick this over an on-premise, good ole file server...
- No VPN required.
- Saves local storage space
- accessible across all platforms instantly.
- it's Sharepoint! It has versioning, "last modified", check-out capability. All the goodness that it includes.
Why should you not?
- It's public. essentially just protected by a username and password. Not ideal.
- Performance could be an issue. after all, you are going to the cloud to access/modify files.
- You need to ensure that you have an Office 365 compatible backup solution.
Final thoughts.
At the end of the day, it's whatever suits your business needs. The point of this post, above else, is to show that it is possible. that a traditional file server could and should be replaced by Sharepoint. Online or On-Premise, your call. but the user experience can remain the same while providing a more robust infrastructure to take care of your needs.
As always, constructive feedback is not only appreciated, it's welcomed!
Until next time.
No comments:
Post a Comment